Blog

GB7EAT gains 9600 BPS access

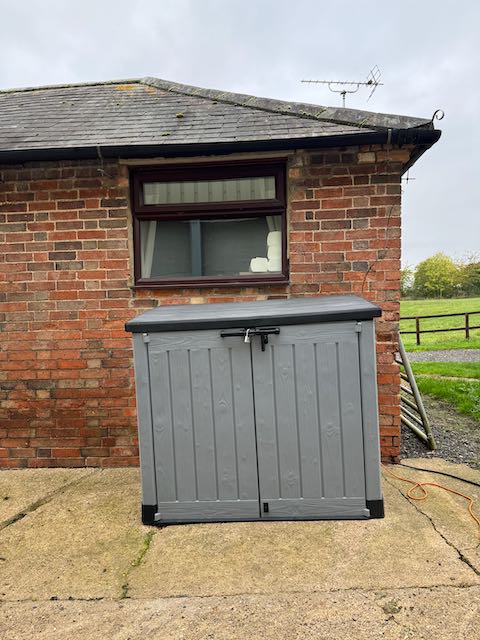
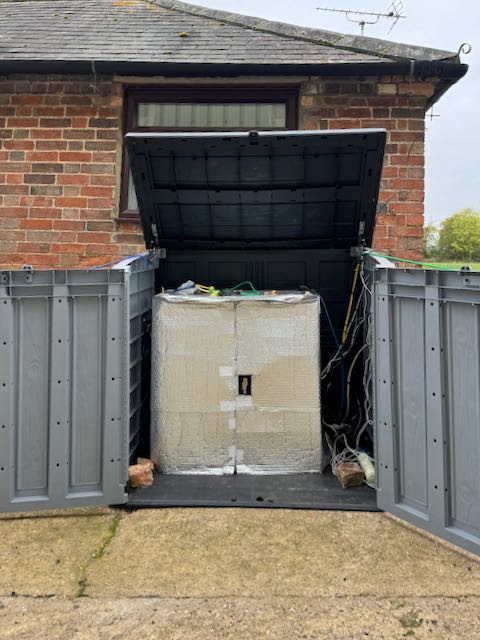
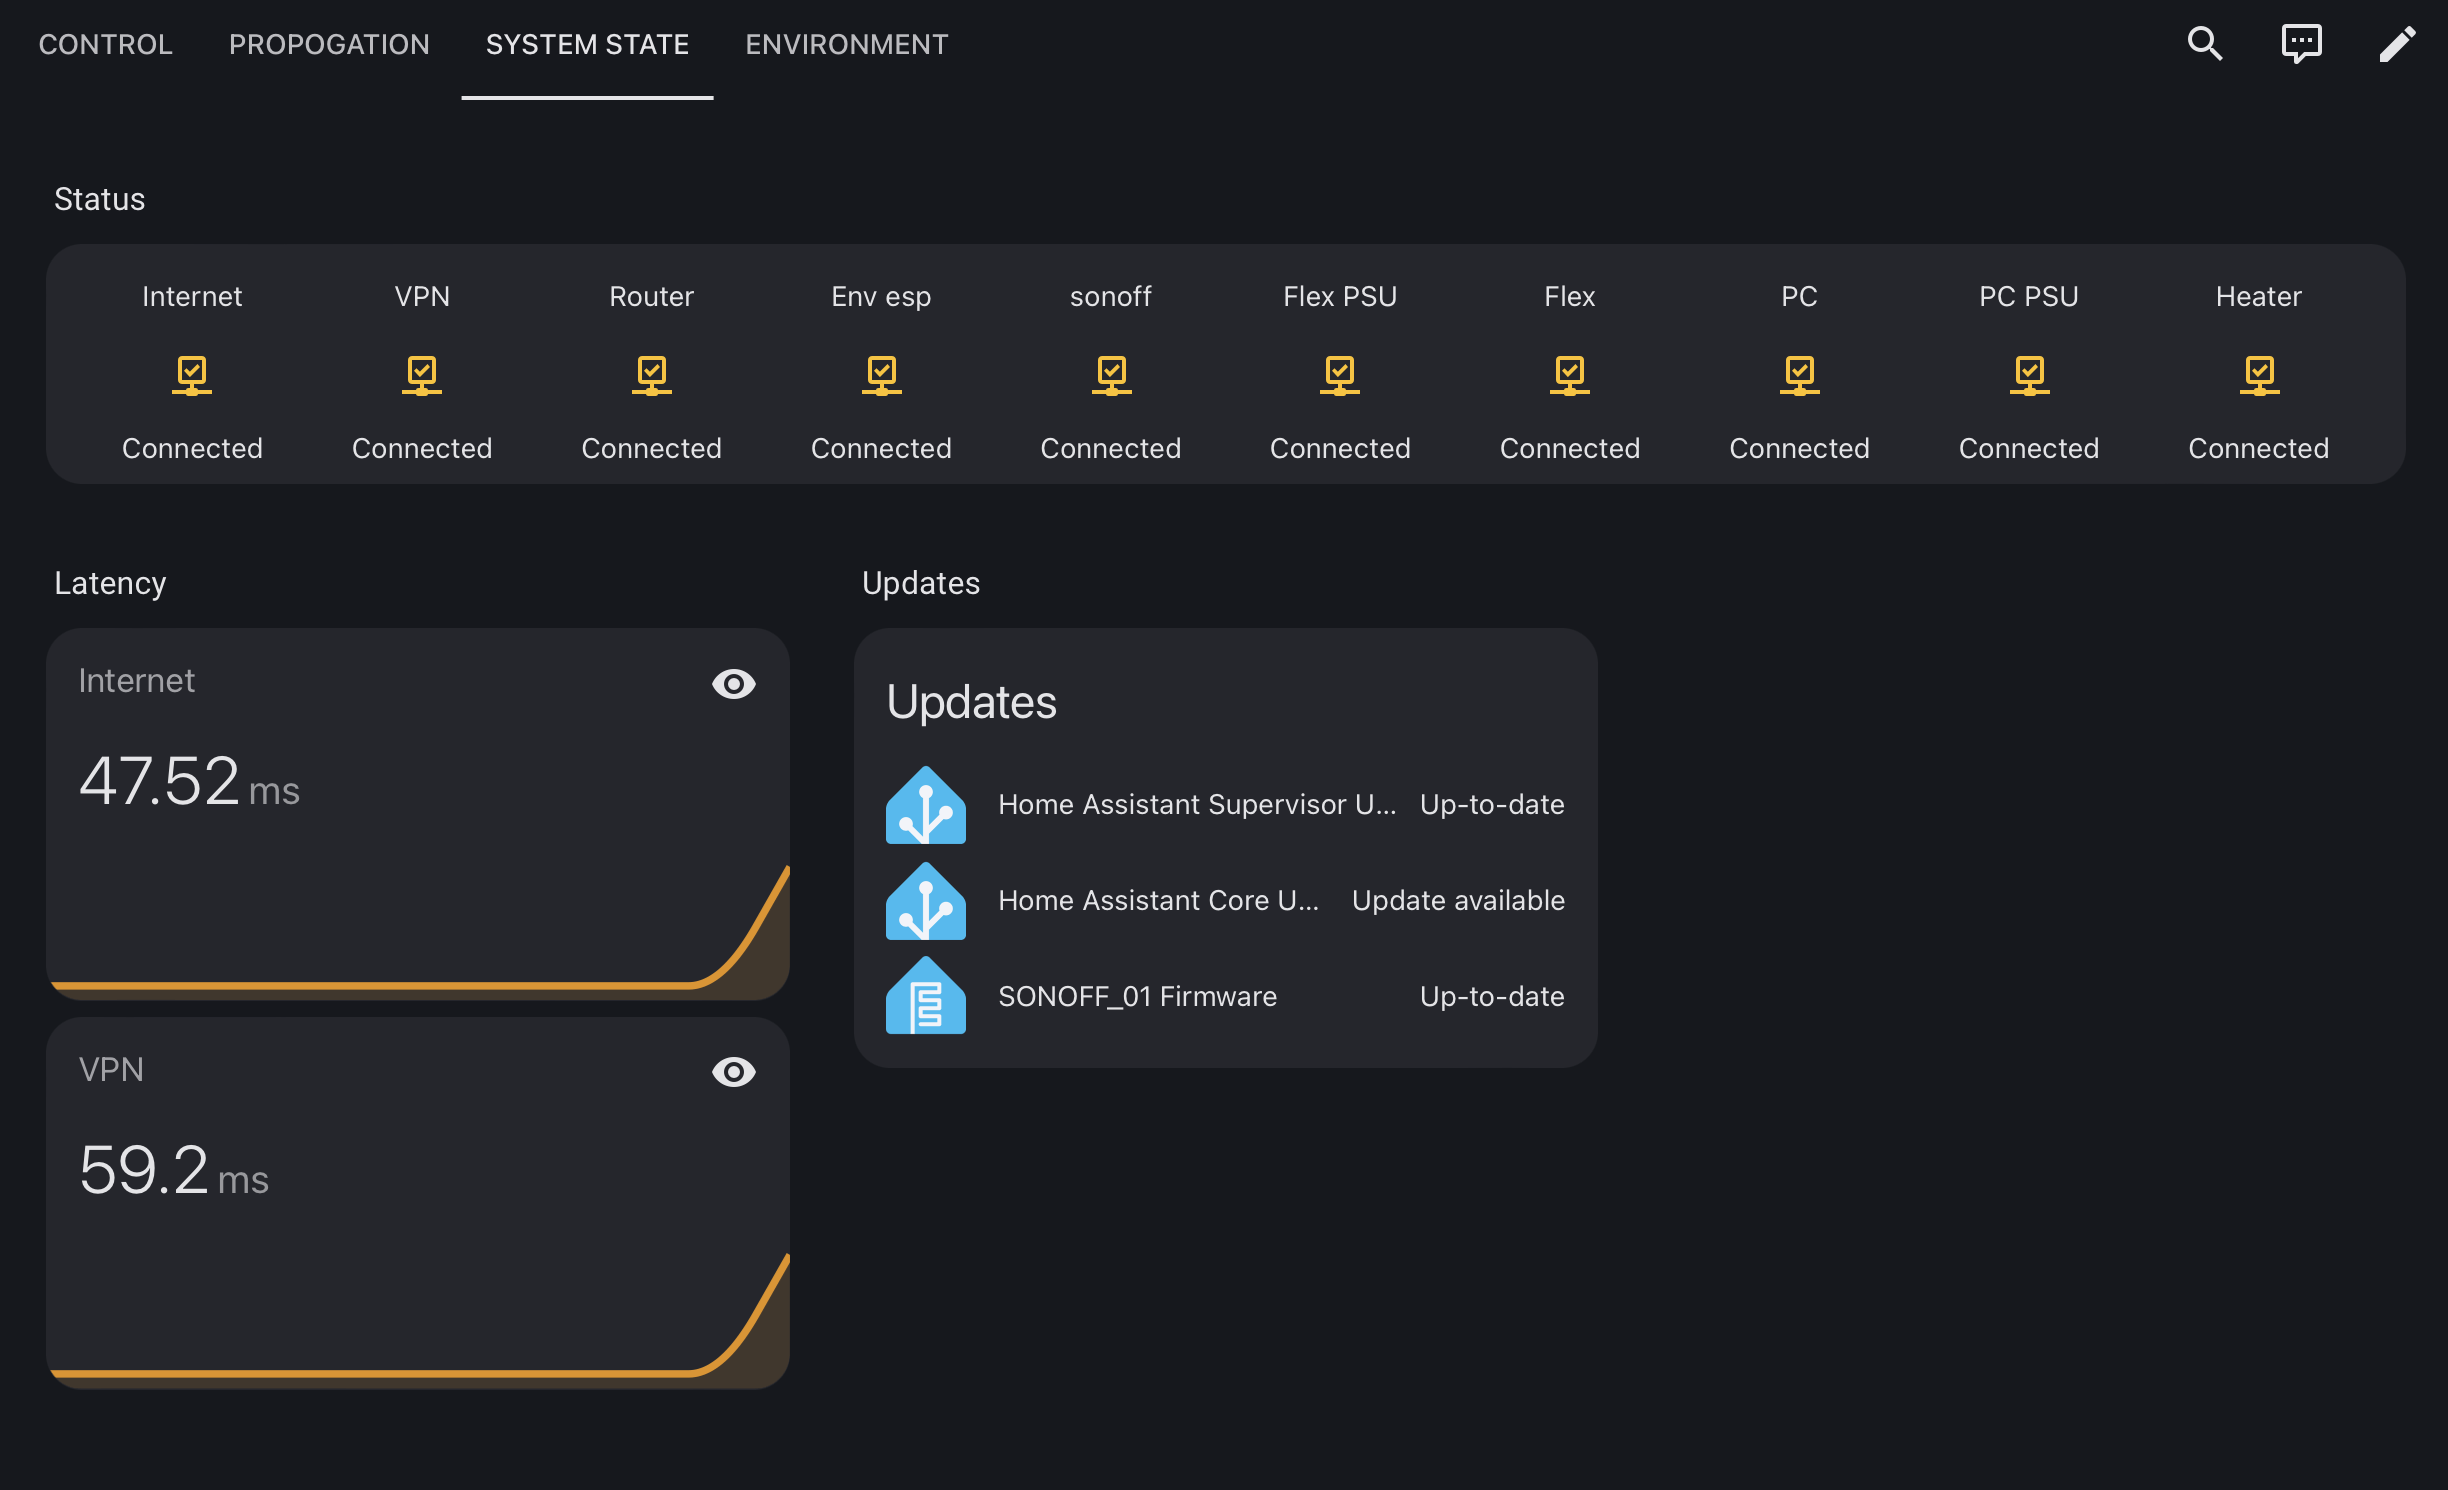
Since my last post, there has been a period of settling in for GB7EAT and now some updates.

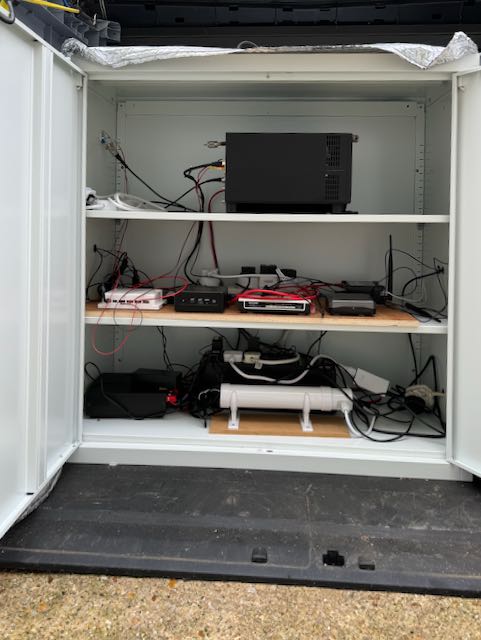
When I started, I was using the Direwolf sound card modem as the interface to the radio. However, I was getting some issues relating to packet corruption, so I replaced this with a NinoTNC that I built up from a kit and put in a 3D printed case.

It’s been running nicely with this, but the NinoTNC does not support FX.25: the upgrade to AX.25 that adds Forward Error Correction – (FEC) to improve throughput. Also, it only supports one mode at a time.

I wanted to add high speed access on the same frequency, so I switched back to using Direwolf and implemented a hack I found on The Modern Ham’s website that allows you to run multiple modems on the same sound card. In the hack shown on the website, the purpose is to run Direwolf and VARA on the same sound card, but the principle applies equally to Direwolf.

What I did was as follows:

Allow the sound card to be shared

The output from cat /proc/asound/cards showed:

0 [vc4hdmi0       ]: vc4-hdmi - vc4-hdmi-0
                      vc4-hdmi-0
 1 [vc4hdmi1       ]: vc4-hdmi - vc4-hdmi-1
                      vc4-hdmi-1
 2 [Headphones     ]: bcm2835_headpho - bcm2835 Headphones
                      bcm2835 Headphones
 3 [Device         ]: USB-Audio - USB Audio Device
                      C-Media Electronics Inc. USB Audio Device at usb-0000:01:00.0-1.3.2, full speed

Thus my DigiRig sound card is device 3

I created the file /etc/asound.conf (because it didn’t already exist)

pcm_slave.digirig {
   pcm {
      type hw
      card Device
   }
   period_time 0
   buffer_size 8192
}

pcm.digirig-dmix {
   type dmix
   ipc_key 2023041901
   slave "digirig"
   bindings.0 0
}

pcm.digirig-dsnoop {
   type dsnoop
   ipc_key 2023041902
   slave "digirig"
   bindings.0 0
}

pcm.digirig-rx {
   type plug
   slave.pcm "digirig-dsnoop"
   hint.description "digirig RX audio plug"
}

pcm.digirig-tx {
   type plug
   slave.pcm "digirig-dmix"
   hint.description "digirig TX audio plug"
}

This creates two ‘virtual’ sound devices digirig-rx and digirig-tx

Modifying direwolf.conf

After rebooting, I could then modify my direwolf.conf to read (partially)

ADEVICE digirig-rx digirig-tx
#
CHANNEL 0
MYCALL GB7EAT-5
MODEM 1200
PTT /dev/ttyUSB0 RTS

i.e. changed the name of the audio device.

Changed how I used direwolf

The Direwolf sound card modem can be used in two modes: AGW Packet Engine (AGPWE) emulation and KISS. Previously, I was using AGWPE mode as follows (in XROUTER.CFG)

INTERFACE=2
  TYPE=AGW
  MTU=256
ENDINTERFACE

Investigation of the problem I was experiencing where other stations were rejecting my AX.25 frames with an FRMR or “Frame Reject” response, prompted me to change to using KISS mode. The appropriate stanza now looks like:

INTERFACE=2
  TYPE=TCP
  PROTOCOL=KISS
  IOADDR=127.0.0.1
  INTNUM=8001
  MTU=256
ENDINTERFACE

The Port definition hasn’t changed:

PORT=2
  ID=(FSK) 144.950MHz 1200BPS Direwolf
  INTERFACENUM=2
  ;CHANNEL=A
  MHEARD=50
  IDPATH=APXR00
  IDTEXT=!5213.72N/00016.79W XRPi EATON (GB7EAT-5), Chat=GB7EAT-8/EATCHT
ENDPORT

Adding a second port on the same frequency

After checking that this all worked, I was able to add a second direwolf instance fairly easily.

  1. Edit start_direwolf.sh
#!/usr/bin/bash
#
/usr/bin/tmux new -d -s direwolf
/usr/bin/tmux send-keys -t direwolf:0 '/usr/local/bin/direwolf -c \              /home/pi/direwolf/direwolf1.conf' ENTER
/usr/bin/tmux new-window -t direwolf
/usr/bin/tmux send-keys -t direwolf:1 '/usr/local/bin/direwolf -c \   /home/pi/direwolf/direwolf2.conf' ENTER
  1. rename the original direwolf.conf file
mv direwolf.conf direwolf1.conf
  1. Copy and amend the second direwolf.2.conf file
cp direwolf1.conf direwolf2.conf
vi direwolf2.conf

The relevant changes are:

MODEM 9600
#
AGWPORT 8002
KISSPORT 8003

Everything else stayed the same.

Now, when I reboot, tmux opens two windows and launches two distinct copies of direwolf.

  1. Amend XROUTER.CFG to add the additional Interface and Port
INTERFACE=2
  TYPE=TCP
  PROTOCOL=KISS
  IOADDR=127.0.0.1
  INTNUM=8001
  MTU=256
ENDINTERFACE
INTERFACE=7
  TYPE=TCP
  PROTOCOL=KISS
  IOADDR=127.0.0.1
  INTNUM=8003
  MTU=256
ENDINTERFACE

PORT=2
  ID=(FSK) 144.950MHz 1200BPS Direwolf
  INTERFACENUM=2
  ;CHANNEL=A
  MHEARD=50
  IDPATH=APXR00
  IDTEXT=!5213.72N/00016.79W XRPi EATON (GB7EAT-5), Chat=GB7EAT-8/EATCHT
ENDPORT
PORT=3
  ID = (G3RUH) 144.950MHz 9600BPS Direwolf
  INTERFACENUM=7
  MHEARD=50
  IDPATH=APXR00
  IDTEXT=!5213.72N/00016.79W XRPi EATON (GB7EAT-5), Chat=GB7EAT-8/EATCHT
ENDPORT

GB7EAT – first light

The plan is to start small and build up from there, so this is the starting position:

Hardware

  • Raspberry Pi 4 (I could have used a 3B but I had a Pi 4 sitting doing nothing).
  • Digirig Mobile audio adapter.
  • Tait 8115 25W Mobile Radio.
  • Antenna – initially just my shack 2m/70cm co-linear in the back garden.
  • PSU, cables, etc.

This is pretty much as simple as you can get; a computer to run the software; an audio adapter to convert digital signals to audio; and a radio+antenna.

Software

Again, as simple as I can get to begin with. I’m using the Direwolf sound card modem to start off with.

Configuration

I started by installing the stock bookworm-lite edition of the Raspberry Pi OS – which is a slightly adapted version of Debian. I don’t need the graphical desktop as I’m more used to interacting with Linux via the console.

As with the Remote Shack, I created a dedicated Zerotier network to which the node and my home Mac are connected. The Zerotier “SNOPAC” network uses the address space 192.168.192.0/24 and m5kvk-5 has the address 192.168.192.3. It is this network that I use for all remote access rather than the local VLAN address. That way, if the node is moved to a different location – and LAN – it will still have the same IP address.

The second step was to bootstrap the node using debops so that it had a known configuration. I then re-ran debops to install XRPi and Direwolf and configure them to run as systemd services under tmux.

The reason for this is that neither XRPi nor Direwolf are daemons, so they need to be run from a console. By running them in tmux windows, I can run them simultaneously and access them remotely.

The code for doing this was fairly simple: A systemd service unit that runs a script

[Unit]
StartLimitIntervalSec=5
Description=XRpi service
After=network.target
StartLimitIntervalSec=0

[Service]
Type=forking
Restart=unless-stopped
RestartSec=5
User=pi
WorkingDirectory=/home/pi/xrpi
ExecStart=/home/pi/xrpi/start_xrpi.sh

[Install]
WantedBy=multi-user.target

And the script /home/pi/xrpi/start_xrpi.sh

#!/usr/bin/bash
#
/usr/bin/tmux new -d -s xrpi
/usr/bin/tmux send-keys -t xrpi:0 '/home/pi/xrpi/xrpi64v504m-bullseye' ENTER

The pair of files for Direwolf are similar.

direwolf.conf

This file configures direwolf. Mine is pretty simple:

ADEVICE plughw:3,0
#
CHANNEL 0
MYCALL GB7EAT-5
MODEM 1200
PTT /dev/ttyUSB0 RTS
#
AGWPORT 8000
KISSPORT 8001
#
# Transmit FX25 instead of AX25
#
FX25TX 1
#
# How likely are we to Tx?
#
PERSIST 63
# 
# How often do we check?
#
SLOTTIME 12
#
# How many tries do we try to send a frame before giving up?
#
RETRY 5
#
# How long do we wait for a reply?
#
FRACK 3
#
# How many frames will we send before we wait for an acknowledgement
#
MAXFRAME 4
#
# How long should packets be?
#
PACLEN 128
#
# How long do we allow for PTT to take effect
#
DWAIT 0
#
# How long (10ms) to let the Tx stabilise
#
TXDELAY 30
#
# How do we wait at the end before dropping Tx
#
TXTAIL 15

The line ADEVICE plughw:3,0 tells direwolf the address of the digirig mobile, and comes from running the command: aplay -l To get the card (3) and device (0) of the dgirig.

XROUTER.CFG

This is the main config file for XRPi. This is the version after I applied for and was allocated GB7EAT:

# XROUTER.CFG - Main Configuration file for XRPi / XRLin
#
# This file is read only when the program boots.
#
#===================================================================
#
#       Primary Identity for AX25 & NetRom.
#
NODECALL=GB7EAT-5
NODEALIAS=EATON1
#
#       QTH
#
QTH=St Neots, Cambs, UK, IO92uf
LOCATOR=IO92uf
#
#       Console operations.
#
CONSOLECALL=M5KVK
#
#       Chat server.
#
CHATCALL=GB7EAT-8
CHATALIAS=EATCHT
CHATQUAL=100
#
#        PMS
#
PMSTYPE=4
PMSCALL=GB7EAT-2
PMSALIAS=EATBBS
PMSQUAL=120
PMSHADDR=.#22.GBR.EU
#
#       "Connection text", sent to anyone connecting to the alias
#
CTEXT
M5KVK Test Node chat server
Type '?' for list of commands.
***
#
# This text is the response to the 'I' command
#
INFOTEXT
XRPi Packet Router, St Neots, Cambs, UK, IO92uf
Sysop: Gareth M5KVK (M5KVK@GB7EAT.#22.GBR.EU)
To connect to the BBS, use the command: BBS
Comments/reports.queries to: M5KVK
Website: https://m5kvk.org/packet/gb7eat
***
#
#
#       This ID message is sent every IDINTERVAL.
#
IDTEXT
!5213.72N/00016.79W XRPi EATON (GB7EAT-5), 44.33.3.152, Chat=GB7EAT-8/EATCHT
***
#
# Port used to access Telnet
#
TELNETPORT=8023
# =====================================================================
# Interface definitions - These MUST precede any port definitions
# =====================================================================
#
INTERFACE=1
  TYPE=AGW
  MTU=256
ENDINTERFACE
#
# =====================================================================
# Port definitions. Each one begins with PORT and ends with ENDPORT
# =====================================================================
#
PORT=1
  ID=(FSK) 144.950MHz 1200Bd TESTING
  INTERFACENUM=2
  CHANNEL=A
  MHEARD=50
ENDPORT

Note that I am using the direwolf modem in AGW emulation. This appears to be the most stable method.

Conclusion

So, I have GB7EAT operational on 144.950MHz.

On the To-DO list are connections to the rest of the network, replacement of the direwolf modem with a NinoTNC, connection to AMPRnet and addition of a high speed 70cms link.

Also on the list for longer term exploration are a move of the node to a better physical location, and addition of higher speed links.

Building the test node with Ansible and Debops

Ansible and Debops

I spent some of my early professional years doing what is now known as ‘DevOps’. As well as developing software for data communications products like X.25 Packet Switched Nodes, I also developed test harnesses, build tools etc. Thus, I have always been drawn to tools that ease the process of building, configuring and managing software devices.

I came across Ansible some years ago and adopted it for my personal needs (I stopped developing software professionally about 25 years ago, but still ‘tinker’). Therefore it was natural that I would seek to leverage Ansible when building a packet node.

More recently, I came across Debops, which is a suite of ansible playbooks focused on the management of secure Debian-based Linux environments. This includes the Raspberry Pi that I intend to use as the hardware platform for the nodes.

The reason for this sidebar is that I have chosen to create Ansible Roles for each of the software components and distribute them as an Ansible Collection. By using Ansible to manage the node, I can ‘cookie-cutter’ additional nodes and manage their configuration centrally.

NB: The AWX Project is a trademark of Red Hat, Inc., used with permission

Getting back into Packet Radio

Background

Way back in the 80’s and 90’s I used to be very active on packet radio. I had a well-equipped shack in the good location (VHF-wise) and had links on VHF and UHF (70 cm and 23 cm).

As always, of course, life got in the way and I had to pack (sorry) all the packet stuff away. Then I moved to a new location down by the river here in St Neots with ridges on the west and north sides. The result is very poor VHF/UHF. I can get into my local repeaters – GB3OV and GB3PI – but that’s about it.

I’d pretty much forgotten about packet until I got involved with OARC during the COVID Lockdown. OARC has a very active Discord server with two channels devoted to packet radio. The result was a re-awakening of my interest and hence – eventually – this project.

What am I trying to do?

If you look at the Packet Link Map, you can clearly see that St Neots is in a bit of a desert as far as RF links are concerned. Apart from GB7BED, there’s nothing in VHF or UHF range, so the idea is to put something up that will serve the local HAM community and extend the UK Packet Network.

I’ll start with a test node that has local 1200 BPS access on VHF and Internet links to the rest of the network. Once this proves the concept, I’ll build a second node that will (hopefully) be located in a better location. If this is successful, I’ll add a 70cm 9600 BPS link and maybe an HF 300 BPS link. The latter will most likely be delivered via my Remote Shack

Updated Photographs of the remote shack

Here are some updated photographs of the remote shack.

Outer Cabinet
Outer Cabinet location

This is a general view of the outer cabinet at the farm. Yes, it is on a slight slope.

Inner Cabinet
Inner Cabinet

With the outer doors and lid open, you can see the inner cabinet in its bubble-wrap blanket.

Inner Cabinet

With the inner doors open you can see the internal layout.

Inner Cabinet Detail

On the bottom floor is the radio’s power supply, the UPS and the cabinet heater. Above that is the control board with all the electronics; and above that the Flex.

Antenna
Antenna

A not particularly interesting picture of the antenna; showing the fiberglass mast and the ATU board with ATU and the box containing the power take-off for the ATU.

Not shown in this picture is the antenna disconnect.

Updated System Control Computer screens

I thought I’d post some updated screens from the Raspberry Pi that monitors and controls the remote station.

By way of a refresher, it’s a Raspberry Pi 4 in an Argon One case and running Home Assistant. The SCC does the following:

  • Provides a control surface for the main 12V power supply, the Flex itself, the remote ATU and the Windows PC
  • Monitors the state of the various switches and sensors in the remote shack
  • Controls the heating and cooling for the cabinet
  • Alerts me to various conditions
  • Does its best to protect the entire system when the going gets tough 🙂

So, on to the images.

Control Screen

Image of the control screen

This is the main control screen as seen from a desktop or laptop. At the top are various status indicators, followed by the time and current propagation and then buttons to control the Flex PSU, the ATU, the Flex 6400 and the Windows PC that I use for digital modes.

The final button allows me to toggle the PTT line on the Flex. This is needed if you change the SmartLink configuration.

Image of the control screen on a mobile

All windows are dynamic, depending on the browser viewport. This image is the same screen, but seen on a mobile device. Basically, it removes unnecessary elements.

Propagation Screen

Image of the propogation screen

The next screen displays more detail on the current propagation state.

System State Screen

Image of the system state screen

Next is a screen showing various indicators about the system state. Some of this is a repeat of what’s on the Control Screen.

Environment Screen

Image of the environment screen

The inner cabinet has temperature sensors on each shelf, plus sensors for the temperature in the external cabinet and outside. Home Assistant uses these with virtual thermostats to control a heating element and cooling fans in the inner and outer cabinets.

In extremis, Home Assistant will shut down the radio if things are getting too hot. It will alert me using Pushover if it’s getting too cold, so that I can (e.g.) switch on the Power Supply and (maybe) the Flex to warm things up.

Grafana

Image of the Grafana Screen

All sensor values, system state changes etc are logged to an Influxdb database, from where it can be displayed using Grafana.

This screen shows propagation history, and there is another displaying temperature and humidity changes.

Using SmartLink to access my remote shack

A consequence of the way my remote shack is connected to the Internet stops me using FlexRadio’s SmartLink to access it. I knew this would be the case, and I put in place a solution to give me access from home; but it was only a partial solution because I couldn’t use the Windows version of SmartSDR. This article details how I implemented a more general solution using a Virtual Private Server and Zerotier.

Background

All Flex radios are LAN connected and support multiple ways to access them from a network device running a variant of the SmartSDR software. You can “Discover” the radio from SmartSDR running on a Windows PC – but only if it’s on the same IP subnetwork. If you are using the excellent SmartSDR for Mac – which I do most of the time – you can also access the radio using a specific IP address – which overcomes the restriction in SmartSDR for Windows. For both clients, you can also access the radio using FlexRadio’s proprietary SmartLink protocol.

Unfortunately, there are situations where none of these solutions work; and I am in one of those situations.

Problem

SmartLink is a deceptively simple protocol that enables a radio to register its presence in a central directory so that suitably authenticated SmartSDR clients can lookup the IP address of the radio; and then connect to it. Provided the user can open a couple of ports in the firewall, this approach works for most installations because the radio is sitting on a home LAN behind a simple router/firewall that implements Network Address Translation. Unfortunately – as detailed elsewhere on this Blog – my remote shack is located behind two firewall routers – of which I have control over only one. On top of that, the Internet Service Provider to which my kind farmer’s router is connected implements CGNAT; which also screws up SmartLink.

The Partial Solution

As an interim solution as a way of allowing me to access my Flex 6400 from home, I setup an Layer 3 Overlay Network using Zerotier between my home Unifi USG router and the Teltonika RUT951 at the remote site. This effectively created a VPN circuit between the two sites – bypassing the farm’s router – and allowing me to “see” the Flex. However, this only works for SmartSDR for Mac because only this variant allows one to specify the IP address of the radio. SmartSDR for Windows doesn’t work because it can only use either Discovery or SmartLink to the radio.

Discovery requires the PC and the Radio to be on the same Level 3 network – which they aren’t; and SmartLink “sees” the IP address of my router, not the IP address of the farm’s router (plus of course, there is no route).

The Full Solution

To enable SmartSDR for Windows to work, I needed to get the radio to advertise an accessible IP address. My solution was to implement a Virtual Private Server in the cloud and set it as the default route for my remote shack.

This is how I did it.

The Virtual Private Server

After some research, I settled on IONOS as a hosting provider. My needs are very basic and they are very cheap. Also, their technical support is responsive and they’re located in the UK: which helps to reduce network latency.

Ansible and Debops

I use Ansible and Debops to manage the configuration of the many servers and network devices under my control. I won’t go into details as there are plentiful sources of excellent tutorials, but in brief: Ansible allows me to define the configuration of the VPS in a series of text files on my computer and then “build” the VPS with a single command. Debops builds on Ansible to deliver a comprehensive suite of configurations for Debian based servers.

The files are themselves managed in a git repository, and if I want/need to change the configuration, I simply update the text files and run the command again. Crucially, it means I don’t have to worry about backing up the VPS. If it gets compromised or corrupted, I destroy it and recreate it from scratch with a single command.

It’s brilliant!

The VPS Configuration

The VPS is a smallest IONOS provides; with 1GB RAM and 10GB of disk. The Ansible and Debops configurations:

  • Harden the VPS against attacks
  • Install Zerotier and configure it
  • Install nginx and configure a Reverse Proxy to give me access to the Raspberry Pi that controls the remote shack.
  • Configure the WAN firewall to forward traffic on the Smartlink ports to the remote site.

At the remote site

The RUT-951 supports Zerotier out of the box, so all I needed to do was connect it to the Zerotier network and configure it to use the VPS as its default route.

And that was it. When I run SmartSDR, I see the IP address of the VPS and I can connect to it.

Simples.

Pulling it all together

Now that I’m pretty much at the end of the series on putting together my remote shack, I thought I should list all the posts in a single location, rather than having folks stumbling their way around my blog. So here it is:

There will be a couple more posts with updated screenshots of the control system and external views of the shack and aerial. I’ve also got a post on improvements to the remote access solution.

First Light at the Remote Shack

It’s been so long since I last updated this project, you could be forgiven for thinking that I’d abandoned it. Apologies for that. However, the good news is that the remote shack is up and running. The performance needs to be improved, but it works.

I soak tested the whole set of kit in the back garden for nearly a year so that I could be sure that everything worked, and could be recovered if something untoward happened. It also gave me the opportunity to test the environmental controls across summer and winter. As it turned out, I didn’t learn enough.

Environmental Changes

The main change was to insulate the inner cabinet with some aluminium backed polystyrene sheet (the sort of the stuff sold to go down the back of radiators) and add a controlled 60W heater in the base of the inner cabinet. Based on the performance last summer, I didn’t need any forced ventilation – though I left provision for it in the system design. Now that it’s in it’s final position, I now know I do need forced ventilation as well. I’ll fit something next time I visit.

Moving to the Farm

I moved the shack to the farm in June, but immediately realised that my original site survey had been invalidated by the erection of a new steel-framed barn. After a lot of wandering around with my phone testing WiFi signal strength, I realised there was nowhere I could place the kit and connect directly to the farm’s WiFi. That required a re-think.

Luckily, I was able to negotiate a new position close to an external power socket and with easy cable runs to the main farm building and where I wanted to put the antenna. However, I did need to re-design the connection to the farm’s Wi-Fi network as there was no line-of-site link to the nearest Access Point.

I bought a TP-Link CPE210 PoE Wireless Access Point. This device can be placed in client mode to become an Ethernet connected wireless interface for the RUT951 router. I placed the CPE210 physically close to the farm’s main Access Point and ran a 40m long Ethernet cable back to the WAN port of the RUT951 in the cabinet. It works perfectly and I’m getting about 20ms ping times to google.com. Throughput is not really important, but I’m getting about 10 MBytePS down and 500 kBytePS up.

Antenna

I’ve changed my mind about hanging a big doublet in the trees for now and have instead erected a multi-band vertical. Initially I looked at DX-Commander, but then realised that I had a 18m Spiderbeam pole in the shed. With a wire running up it and the SG-230 ATU at the bottom ( plus radials), it has the potential to provide a 80m-10m antenna.

First Light

The newly located system went live in the middle of July. I’ll do a video run through of the station as it appears from home when I get time.

Still to do are:

  • The antenna is not performing as well as I hoped – the wire length needs to be adjusted – and base noise levels are higher than I hoped – though considerably better than from home.

  • With the compromised method of getting Internet access (i.e. via somebody else’s wireless network), I am suffering from double-NAT: IP addresses are being translated twice whereas NAT only occurs once in usual cases. This prevents me exploiting the UPNP feature on the farm’s router to open a temporary hole in the firewall for SmartLink. As a result, I can’t access the Flex using SmartLink. I can get in using a VPN connection using ZeroTier, but the performance is insufficient for voice traffic. \

To get around this, I am implementing a cloud-based Virtual Private Server that will be an access server for the remote shack. All traffic to and from the shack will transit the VPS where I can control fire walling and other aspects. More on that another time.

Remote Station Screenshots

As I’ve been “playing” with it a bit, I thought I’d post some updated screenshots of the control system I use for the remote station. As a reminder, I use a Raspberry Pi 4 running Home Assistant OS and Home Assistant.

There are four tabs on the screen for: Overall status and control; Current and recent propagation conditions; more system status information; and environment conditions at the remote station.

In addition, there are special screens showing more detailed information and diagnostics should they be needed.

Image of the Home Screen
Home Screen
Image of propagation screen
Propagation Screen
Image of system status screen
System State Screen
Image of environment screen
Environment Screen

The last screen looks more complex than it needs to be because I have been playing with the system to optimize the temperature and humidity in the cabinet. Once I’m done, I’ll hide the various thermostats because they’ll never be adjusted by a user.